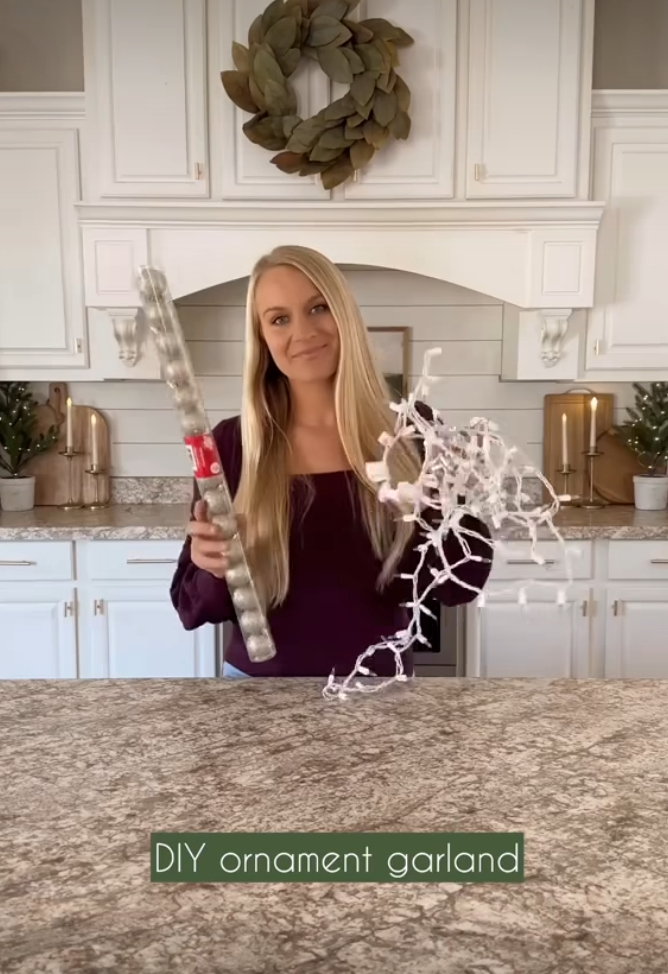
The holiday season is a time for creativity and crafting, and one of the most fun and affordable ways to bring festive cheer into your home is by making your own DIY ornament garland. A visit to the Dollar Tree can provide all the supplies you need at a fraction of the price, and with a little creativity, you can create a stunning garland that adds a personal touch to your decor. In this guide, I’ll walk you through step-by-step tips to craft a beautiful ornament garland that’s easy, budget-friendly, and perfect for the holidays.

Step 1: Gather Your Materials
Before diving into the crafting process, it’s essential to gather all the materials you’ll need. Dollar Tree is an excellent place to shop for inexpensive but festive ornaments and crafting supplies. Here’s a list of what to pick up:
- Ornaments: Choose a mix of different sizes, shapes, and colors to give your garland texture and depth. The Dollar Tree has a variety of baubles, from classic round ornaments to fun shapes like snowflakes or stars.
- String or Ribbon: Opt for a strong, durable ribbon or string to hold the weight of the ornaments.
- Hot Glue Gun: To help secure any loose ends or extra embellishments.
- Scissors: For cutting ribbon or string.
- Beads (optional): You can add beads between the ornaments for a more detailed look.
- Garland Base (optional): A plain garland or tinsel can be used as the base to wrap your ornaments around for added volume.
Step 2: Plan Your Design
Before you start assembling your garland, it’s a good idea to lay out your design. Decide on a pattern or color scheme. For example, alternating silver and red ornaments can create a classic holiday look, while mixing in different sizes and shapes adds visual interest. If you plan to use beads, arrange them between each ornament for extra flair.
Step 3: Attach Ornaments to String
Once you have a design in mind, it’s time to start stringing your ornaments. Use a sturdy ribbon or string to ensure that the garland holds up well over time. Cut the string to the desired length of your garland, keeping in mind that the ornaments will add some weight, so don’t make it too long if you want it to be easily manageable.
To attach each ornament, use the hooks that come with them, or thread the ribbon through the top of the ornament and tie a knot to secure it. If you want a cleaner, more professional look, remove the hooks and use hot glue to attach the ornaments directly to the string.
Step 4: Add Embellishments
If you’re feeling extra crafty, now’s the time to add any additional embellishments to your garland. Beads, bows, or small bells can add a unique touch and help make your garland stand out. Hot glue any embellishments to secure them firmly, ensuring they stay in place throughout the season.
Step 5: Fluff and Adjust
Once all the ornaments are attached and the embellishments are in place, take a moment to adjust the garland. Fluff out any ornaments or decorations that may have become squished during assembly. If you notice any gaps, you can fill them in with smaller ornaments or additional decorations from Dollar Tree.
Step 6: Hang Your Garland
Your DIY ornament garland is ready to display! Hang it over a mantle, along a staircase railing, or around a doorframe to bring festive cheer to your space. Use small hooks or clear adhesive strips to secure it in place, ensuring it’s evenly spaced and supported.
Step 7: Enjoy Your Handcrafted Creation!
Now that your ornament garland is hung and looking fabulous, it’s time to sit back and enjoy your hard work. Not only have you created a beautiful piece of decor, but you’ve also done it on a budget thanks to Dollar Tree’s affordable ornaments and crafting supplies.
Final Tips:
- Balance the Weight: Distribute ornaments evenly along the garland to prevent it from sagging.
- Customize: Feel free to add other Dollar Tree finds, like tinsel or mini lights, for extra sparkle.
- Secure It Well: Use strong adhesives or hooks to prevent it from falling.
This fun and easy DIY project is perfect for anyone looking to add a personal, handmade touch to their holiday decorations without spending a fortune. Happy crafting!